
Add/Enable Blog
1.) Login to your website dashboard by going to YourWebsite.com/login
Note: Forgot your login info? Click here.
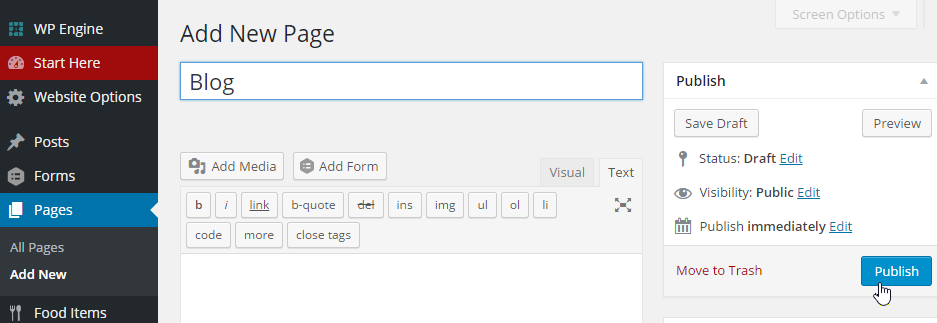
2.) If you don’t have a blog page yet, create one by going to Pages > Add New.

If you already have one, skip to step 4.
3.) In the page editor, put “Blog” (or however you’d like to name it) as the page title and click the Publish button to save your changes.
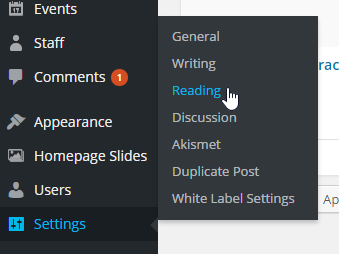
4.) After publishing the page, go to Settings > Reading.
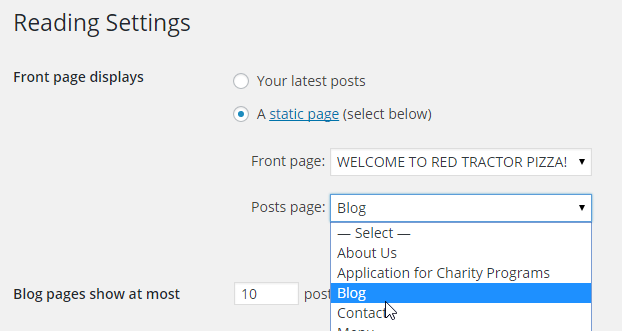
5.) In the Reading Settings, for Front page displays section set Posts page to “Blog” (or whatever you named your blog in step 3). Click on the Save Changes button at the bottom of the page to update the settings.
6.) Navigate to Appearance > Menus.

7.) In the Menu Structure section, check if the newly created blog page is already in the list.
If it is, then you’re good to go.
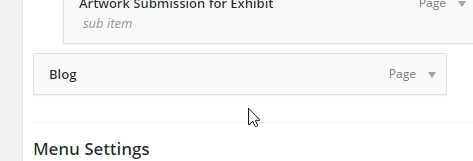
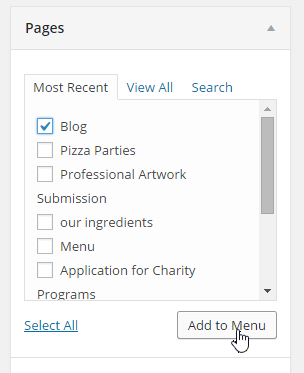
If NOT, tick “Blog” in the list on the Pages section and click the Add to Menu button.
Note: If you need help with adding links to the navigation menu, click here.
When you’re done, click the Save Menu button on the upper-right corner to save your changes.
You are now ready to add your first blog post. Click here to know how.