
Crop/Resize an Image for Homepage Slideshow Using Photoshop
The photos you want to use on your website’s homepage slideshow might need editing for optimal use on your website. The bigger and more pixels in the photos are, the larger its file size is, and the slower it will load on the web page. For example: If your website template’s recommended slide width is only 940 px, directly uploading an image with a width of 3000 px will not only result in it being automatically cropped and resized to fit the slide, it will also add up more than necessary to the page’s loading resources which could slow down your website. Pre-cropping gives you control on how your photo will look on the slide. Pre-resizing your photo will significantly reduce its size for faster page loading.
Note: This procedure requires the use of a 3rd-party image editing application (Adobe Photoshop CS6). If you don’t have access to any, please feel free to contact us for possible assistance with handling your images. Be reminded that we don’t offer graphics design services.
Info: The photo resizing instructions provided here are also applicable for optimizing gallery images (800 px in width). If your photo has a file size of 100 kb or less, you may skip on resizing it.
1.) Determine optimal slide dimensions
From the list below, find your website template’s corresponding slide dimensions and take note of them:
- <template> : <width> x <height>
- Primo : 930 x 300
- Slate : 940 x 350
- Fresh Delight : 700 x 450
- Crema : 900 x 450
- Core : 800 x 500
- Zest : 1500 x 700
Note: If your photo’s dimensions are smaller than the recommended sizes, it may come up pixelated/blurry when stretched to those optimal dimensions. Photos that are 1000 px in width or higher are highly suggested for use.
In this tutorial, well be creating a slide for the Primo template (930 x 300).
2.) Open your file in Photoshop
From the menu bar, navigate to File > Open…  Navigate to the folder where your photo is located, select the file and click on the Open button.
3.) Resize image
Go to Image > Image Size (keyboard shortcut: Alt+Ctrl/Cmd+I) 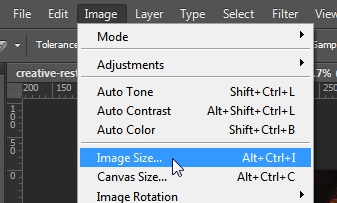 In the Image Size window, set Width to 930 px and click the OK button.
4.) Crop image
From the Tools panel on the left, select the Crop Tool. 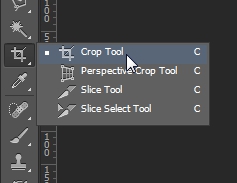 Hover your cursor on the top border of the image and when the Crop Tool changes indicating cropping, click and drag the top border of the crop area down until you reach near 300 px in height but no less than it, then release your mouse button.
 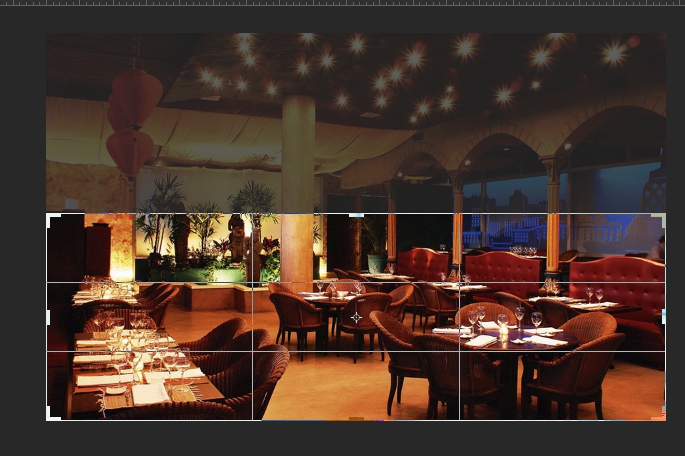 On a space inside the crop area, click and drag it up or down depending on what you’d like to show on the slide. Press enter/return key on your keyboard to finalize and delete the sections outside the crop area.
  In the menu bar, navigate to Image > Canvas Size (keyboard shortcut: Alt+Ctrl/Cmd+C)
 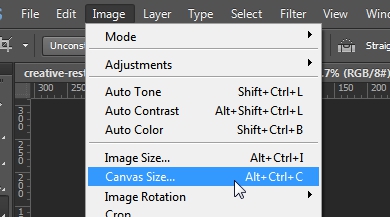 In the Canvas Size window, set Height to 300 px and click on the OK button.
 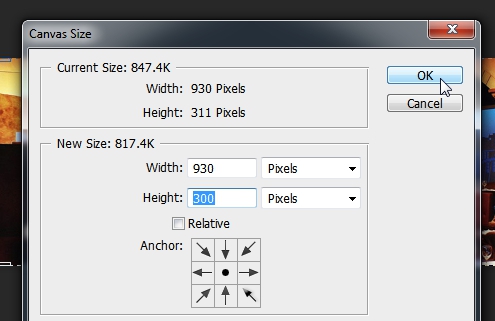 If prompted with the following, just click Proceed.
5.) Save image slide
From the menu bar, go to File > Save for Web (keyboard shortcut: Alt+Shift+Ctrl/Cmd+S) 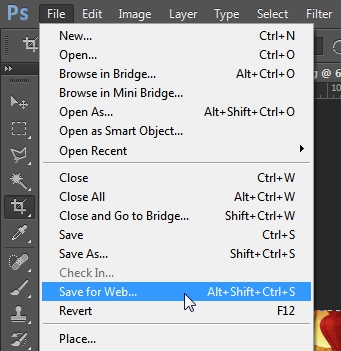 In the Save window, set image type to JPEG and image quality to High, and then click the Save button.
 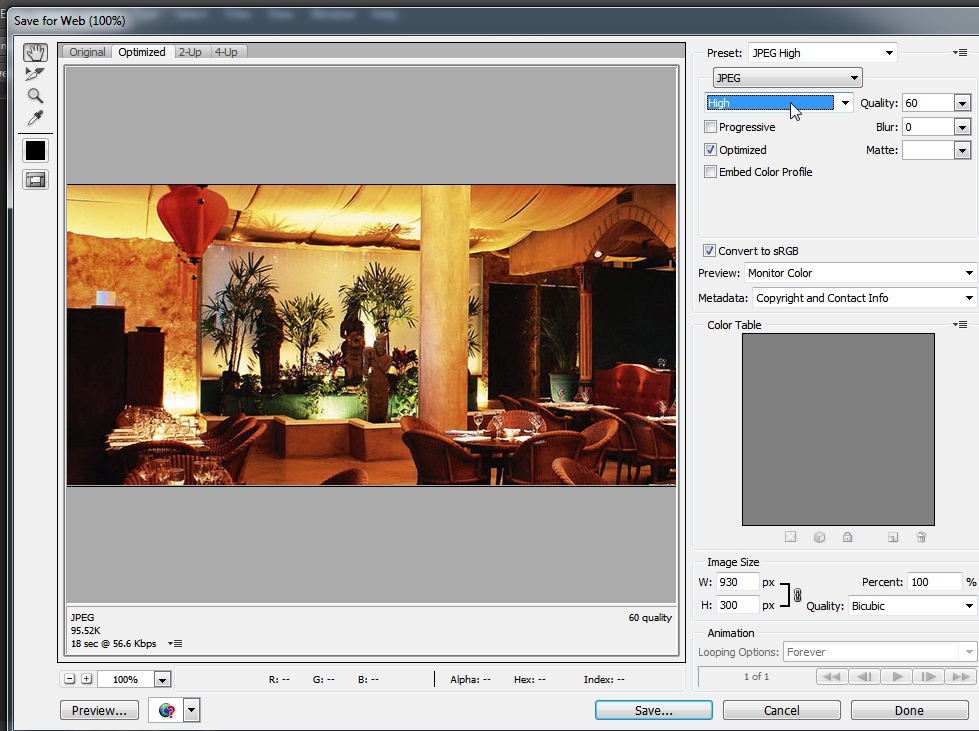 That’s it! You can now upload your newly created slide to your website. Related tutorials: